

How To Repair Water Damaged Particle Board Cabinets
Kitchen cabinets are put through a lot of stress, peculiarly if they're under the sink or refrigerator and they're made from materials like MDF and particle board which don't tend to be super potent. H2o from your sink and moisture in the air tin lead to water damaged cabinets that look a bit worse for wearable.
Water damaged cabinets will often get bloated, causing paint to scrap off or laminate to bubble upwards and ruin the stop. You might even observe that a laminate surface starts to pop off completely due to water damage within your cabinets.
However water damaged kitchen cabinets touch on your kitchen, you need to repair them as soon as possible before the damage gets any worse. Wood can survive a certain corporeality of water damage, merely the team at Kitchen Infinity can definitely tell yous from feel the cabinets can also reach a signal of no return where they become unsaveable.
Here we're going to look at the best way to repair kitchen cabinets that are water damaged, as well as hash out possible ways to protect your cabinets from water issues going forwards.
Let's get to it!
9 Steps For Repairing Kitchen Cabinets After H2o Harm
Now, these are general steps that can be broadly practical to virtually situations for most cabinet door materials and styles. Obviously, yous need to use some common sense regarding the level of water damage and how feasible it is to salvage your cabinets from h2o damage.
These nine steps should work fine to repair water damage off of cabinets made from MDF, particle board, plywood, and many other materials.
So, how do y'all repair water damaged woods cabinets?
1. Prepare the cabinets for repair
First things first, yous need to prepare the cabinets for the work you lot're going to exercise.
You need to remove the cabinet door from its hinges and place it on a work surface which is rubber and protected for tools/paint. Preferably motility it to a garage/shed and put dropcloths around to catch pigment.
Depending on the severity of the water harm, you lot may want to remove the hinges, door handles, and whatsoever other pieces of hardware from the chiffonier door. Yous may detect that this makes the process easier regardless of the water damage level.
Brand sure that the doors are dry before yous start working on them – they cannot be recently h2o damaged. Take them off a couple days before you plan to repair them if necessary.
two. Use a shellac-based primer on the woods
Like shooting fish in a barrel to discover in about hardware stores, shellac-based primers are designed to help repair minor blemishes and impairment in wooden furniture such every bit our cabinets.
Shellac-based primer normally comes in a spray bottle for easy application over damaged areas. Apply 1 or 2 coats of this product over damaged areas to help even out the surface of your cabinet door.
The not bad affair most shellac-based primer is that you can put any kind of paint over information technology. This primer is going to help even out the surface of the wood but also allow your paint to stick to it really well.
3. Use plastic wood filler if necessary
If there are larger areas of damage on your kitchen cabinets, yous may like to use plastic woods filler to aid seal them upward and repair the water impairment. Particle board tends to go more bumps than MDF so if you accept particle board cabinets, practise this pace thoroughly.
Personally, I like to apply the plastic woods filler straight from the tube into affected areas and then smooth information technology over with a pocket-size putty pocketknife. Apparently the corporeality yous apply and the technique you use to apply information technology volition depend on the situation yous've got in front end of you.
Brand sure that y'all get the surface of your cabinets dainty and apartment (or equally flat as possible!) before the next step.
4. Become sanding that cabinet door!
Now it's fourth dimension to first sanding!
Kitchen cabinets repair often involves sanding at some stage, and this is no exception! Water damaged cabinets need sanding down and then that the surface of the wood appears even once again, without any bubbling or bloated areas.
I like to use 120-grit sandpaper, though any similar coarse dust should be okay. Some people do this step by mitt, but I find that information technology's much easier to apply an electric sander for this footstep.
You should ideally utilise a high-quality electric sander made by a reputable home design company.
Exist conscientious not to sand the wood also much – you're probably going to repeat the process, and then the cabinets shouldn't await as good equally new straight away. Just brand sure it looks smoother and less damaged subsequently you sand it downward.
5. Repeat the previous steps if necessary
If your cabinet are really badly affected by h2o damage, you lot should consider repeating the previous steps one or two times over until the repair work is adequate.
Y'all may want to reuse the shellac primer, the plastic wood filler, and the sanding process depending on how damaged the cabinet door actually is.
Use your best judgment or ask a friend who'south good at habitation DIY if you're not sure! Repeat steps 2 to 4 until the wood is looking flat and relatively smooth.
Don't worry nigh the color at this point – focus on the forest repair itself.
6. First painting your kitchen cabinet!
Once the water damage is barely visible and the cabinet door looks very apartment and polish, it's fourth dimension to start painting it back to how it was.
Apply the same type of pigment that you lot used for the original cabinet design. The shellac primer volition help the pigment to adhere to the wood nice and easily.
If you're working with larger a cabinet door, you may want to utilise a paint roller for the procedure, finishing off whatsoever pocket-size details with a small paintbrush. Some people also like to use paintbrushes for the whole thing – it depends on your preference and skill level with painting.
You probably want to paint over the entire cabinet door (not just the water damaged areas) otherwise the pigment will await patchy and uneven.
Once you've finished painting, leave the cabinet door to dry out for however long is necessary co-ordinate to the type of pigment you lot've used. Carry in mind that oil-based forest paints can accept several hours to dry in between coats, so allow as much time as yous'll need.
seven. Sand the painted cabinet doors down
You'll notice that y'all're very good at sanding after this repair job!
Yeah, one time the paint is dry out, sand it downward again with a finer sandpaper. The goal hither isn't to flatten or reshape the wood – it's to make the finish of the pigment appear more than seamless. The sanding besides creates pocket-sized holes and grooves in the cabinet door surface which helps hereafter coats of paint to adhere properly.
I employ 220-grit sandpaper for this part of the repair process.
You can sand the painted wood by hand or utilise an electric sander once once again. Notwithstanding, I would recommend sanding this step past hand considering you lot demand to be more careful and preserve the paint job.
Be gentle!
8. Apply a concluding glaze of paint and sand it down over again
Now use a final coat of paint, allow it dry, and gently sand it down once again with fine 220-grit sandpaper or similar. You might want to repeat the process one or 2 more than times depending on how your chiffonier door is looking.
At this point, no water harm or paint chipping should be visible. The chiffonier door should look as proficient as new. The repair is almost complete!
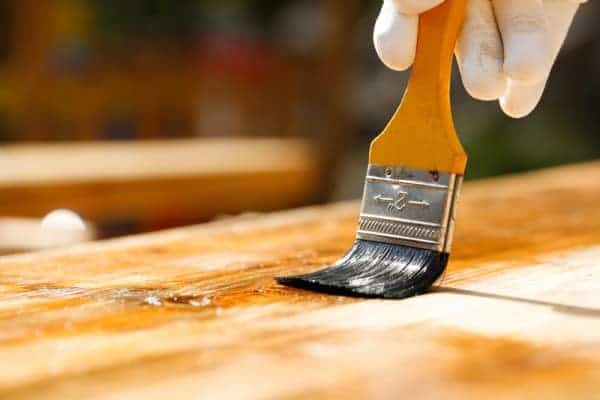
9. Apply a water-proofing varnish or seal
If you desire to really repair water damaged kitchen cabinets and stop the trouble from coming back, I would propose applying a concluding topcoat or clear coat to assist continue the water out going forrad.
You can find various waterproof seals, clear coats, and varnishes for wooden kitchen cabinets. Brand sure yous observe one that is suitable for the type of wood yous're working on and the blazon of paint that yous've been using.
Likewise be aware of the clear coat's finish. For example, if you're going for a flat matte pigment finish, you lot desire a clear coat that volition not look glossy when it dries.
Waterproof paints and varnishes won't brand your cabinets impervious to water, but they volition make it much more hard for future moisture to penetrate the forest.
How Practise I Protect My Kitchen Cabinets From Water?
Once you've got your kitchen cabinets repaired, yous want to keep them condom from future damage. After all, it'due south improve to protect your cabinets than constantly repair them. There are 5 main ways to exercise this:
ane. Go them laminated
You may take heard of laminated kitchen cabinets. This is when your wood cabinets and frames accept a layer of "laminate" over them which protects them from water damage.
This laminate layer is a smooth, shiny applique which may be made from plastic or a similar water-resistant cloth. Laminated kitchen cabinets are not waterproof, but this smooth outer layer can terminate water droplets from penetrating the wooden cadre of your chiffonier doors.
Laminated kitchen cabinets are usually on the glossy side, though information technology is possible to paint laminate kitchen cabinets and then they match your intended kitchen style.
2. Use a water-proofing varnish, seal, or clear coat
Y'all tin can find various articulate coats for your kitchen cabinets that assist to keep them waterproof. This manner, you can stop your kitchen cabinets from arresting water easily, even if they're made from inexpensive wood.
Waterproof seals, varnishes, and articulate coats come in various formulas and are applicable to different types of kitchen cabinet door, depending on the blazon of woods and the paint used.
If y'all detect a waterproofing clear coat, just ensure that the finish (i.east. sleeky, matte, satin) matches the cease that you're going for with your new kitchen cabinet design.
3. Become a deeper style of sink
If yous keep dripping water all down your kitchen chiffonier doors, you lot might find information technology'due south time to change the blueprint of your kitchen.
For instance, practice you lot need a deeper way of sink so that water doesn't splash out so easily? Perchance you need a better seal effectually the edges of the sink to stop the h2o from leaking out.
Changing your sink style could stop h2o spillages from happening altogether. Prevention is ameliorate than repair!
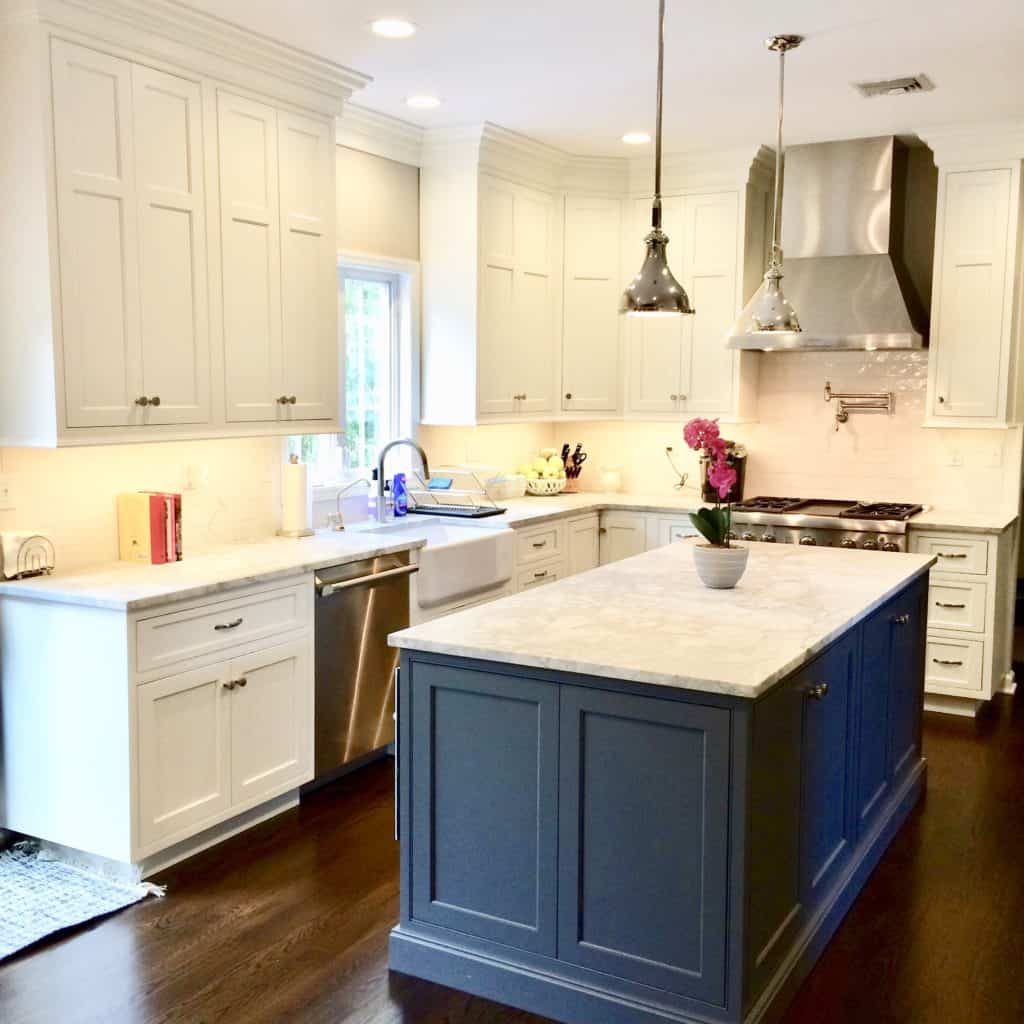
four. Effort new countertop edges
You might likewise desire to modify the design of your countertop edges. You might not think about it, but the way that your countertop edges are designed tin can significantly affect the likelihood of water dripping into your cabinets and ruining them.
For example, kitchen countertops with a bullnose border (i.e. an edge that curves all the way around) tend to carry water spillages over the edge and drip them into the cabinets below.
On the other mitt, beveled edges on your kitchen countertops tend to make spillages drip downwardly straight onto the flooring, missing the cabinets entirely.
If you detect that your home is decumbent to cabinet impairment, a square edge or beveled edge countertop is a great solution if you don't have modest children to worry about (the edges can be sharp!)
5. Get better ventilation or dehumidification
If you lot find that your issues are acquired past wet, you may observe that you want to invest in better ventilation for your kitchen. For example, if yous boil a lot of water or practice a lot of cooking that produces steam, you need to help that steam get out of your domicile.
It's not rocket science.
The obvious solution is to open your windows to help the moisture and steam escape, but you might likewise want to consider products such as kitchen extractor fans and dehumidifiers to help soak upwardly excess moisture in the air which is ruining your precious cabinets!
Open windows can only do so much.
The Bottom Line
It's not super easy to repair your kitchen cabinets, but it is definitely possible if y'all're willing to put in the necessary time, effort, and materials. Depending on the type of paint you're using and the severity of the project, information technology can take anywhere from a few hours to several days to repair your wet cabinets, and so continue this in mind.
Personally, I find that information technology's all-time to keep your cabinetry protected from future spills by investing in deep sinks, good sealing, and counter edges which help spills to roll off the terminate and straight onto the flooring. Whether you're repairing existing issues or safeguarding against future moisture, I promise that your repair job goes well.
Remember to stay safety, take all the time you need, and go along repeating those steps until the cabinets wait good as new!
Source: https://kitcheninfinity.com/how-to-repair-water-damaged-cabinet-doors/
0 Response to "How To Repair Water Damaged Particle Board Cabinets"
Post a Comment